Bitget margin trading(2)
2021.11.23 06:29
Hi It's Unicorn
As previous mention, today we will use the order window directly to place an order. Please select the margin mode (cross margin or isolation margin) first!
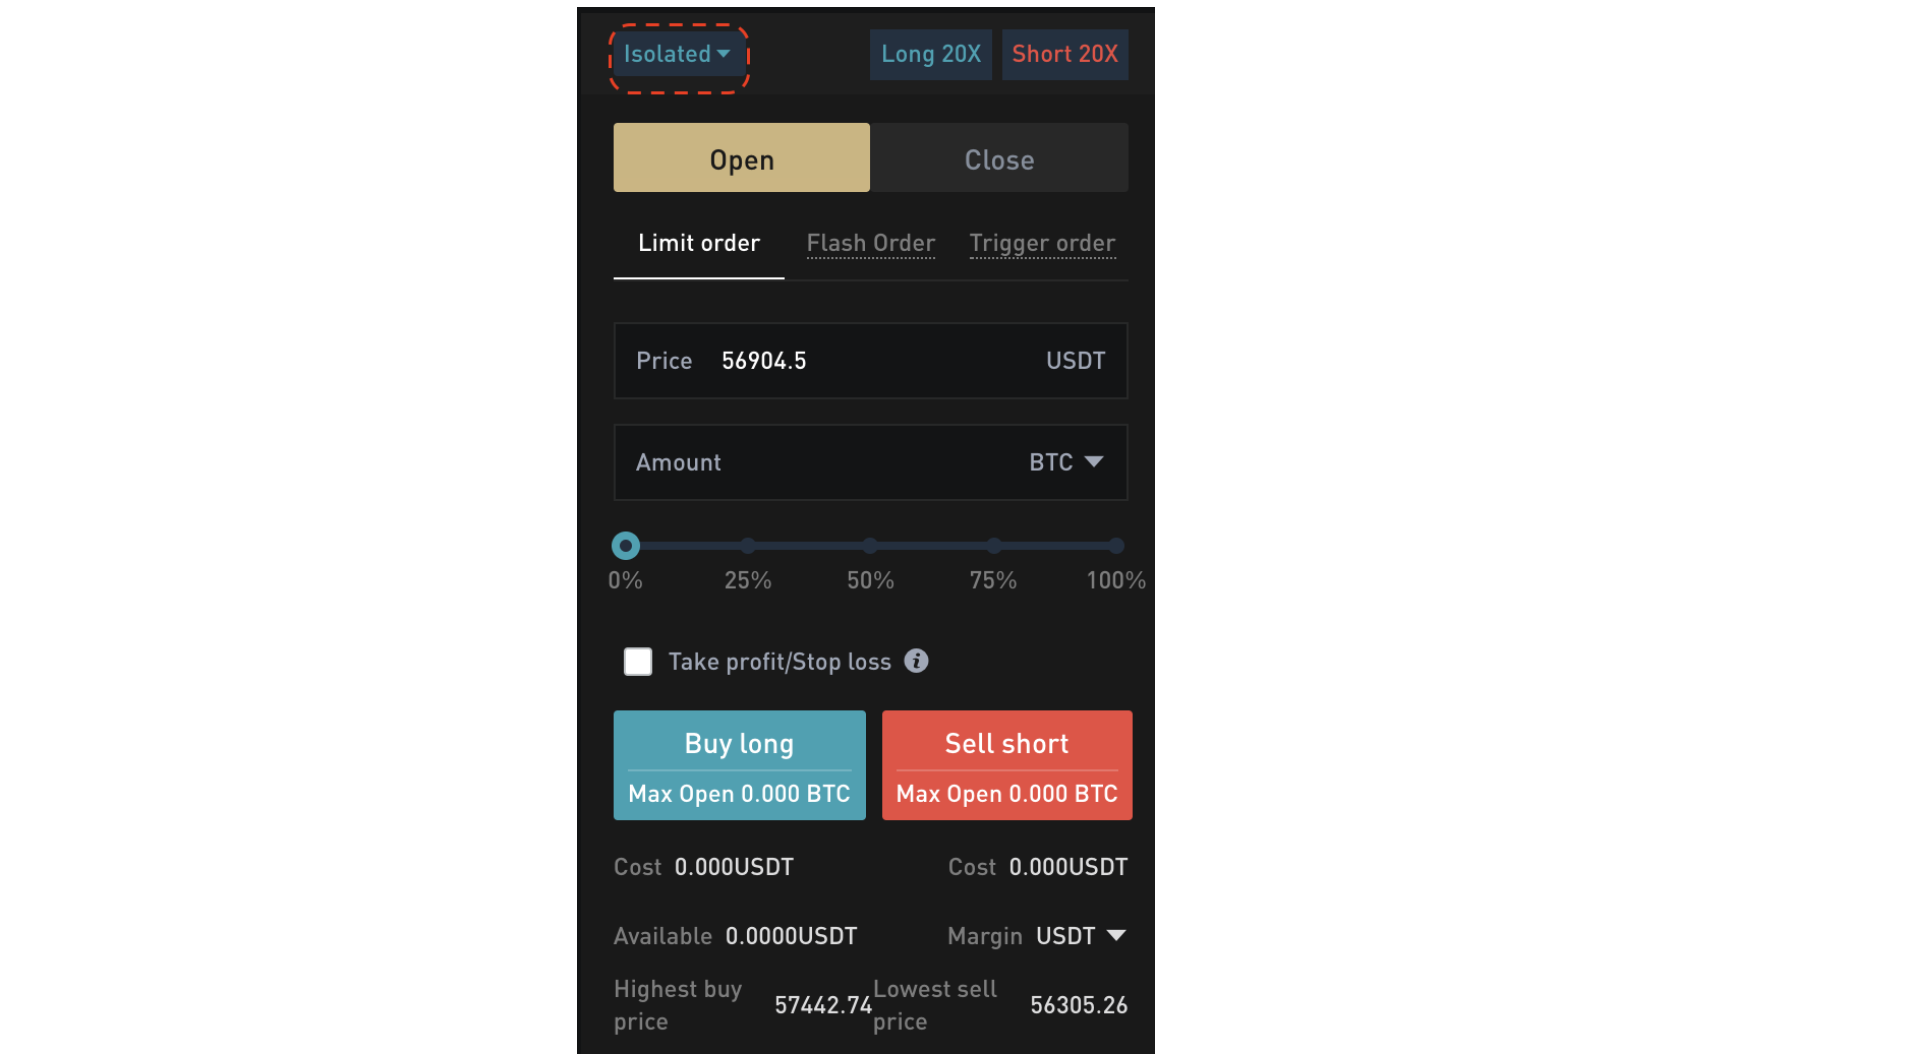
✓ Cross Margin: In cross margin mode, you can increase the gap between the liquidation price and the entry price by using your available balance in the account as collateral. In this mode, you can reduce the probability to be liquidated; but, once a forced liquidation occurs, all available balance in your account will be lost.
✓ Isolated Margin: In isolated margin mode, the maximum loss of a contract position is the margin used by the position and the possible margin call for the position. The position is independent for each contract. You need to add the margin manually even if you have enough assets in other contract account. Therefore, it’s relatively easier happen forced liquidation than in cross margin mode. Assuming that a forced liquidation occurs due to price fluctuations, only the margin of the position will suffer losses, and the margin of other positions in the account will not be affected. Due to you will only lose limited funds, it is effective in managing risk.
➣ In this example, we selected “isolated margin” mode and clicked confirm!

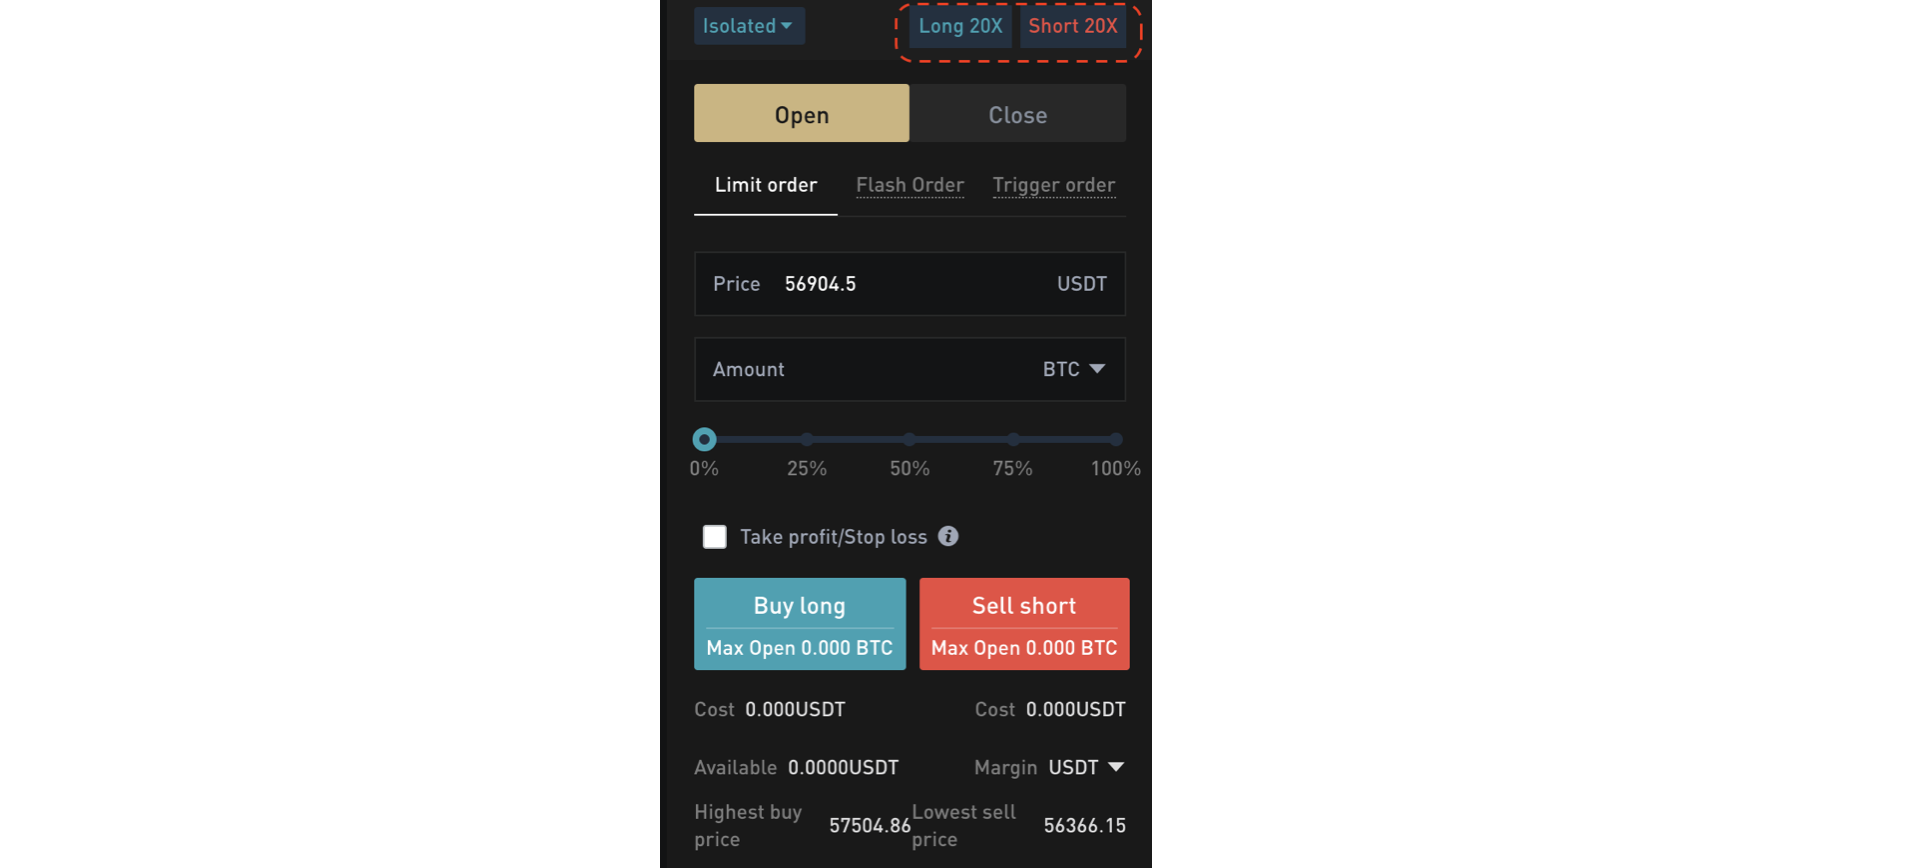
➣ Set leverage multiple! On Bitget futures, no matter you buy LONG or sell SHORT, the leverage can be set separately in advance!
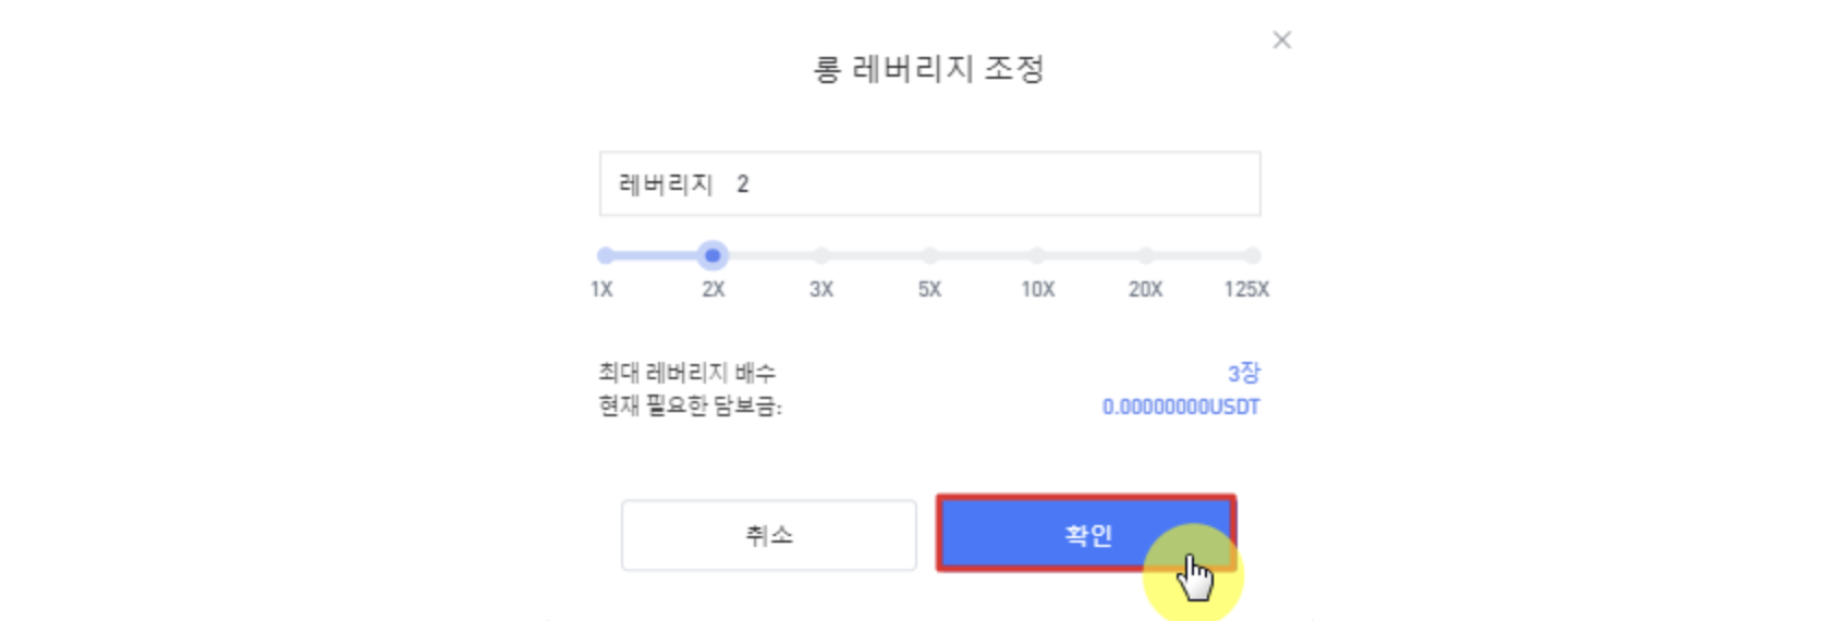
➣ Excessive leverage is dangerous, so let's set 2x leverage and click “confirm”!
➣ You need to select an order method from limit price, market price and stop limit next. We will select market price to start trading.
➣ You can select margin mode, leverage multiple, and order method; and, enter the amount you want to trade in your own assets, or select one from 25% / 50% / 75% / 100%!
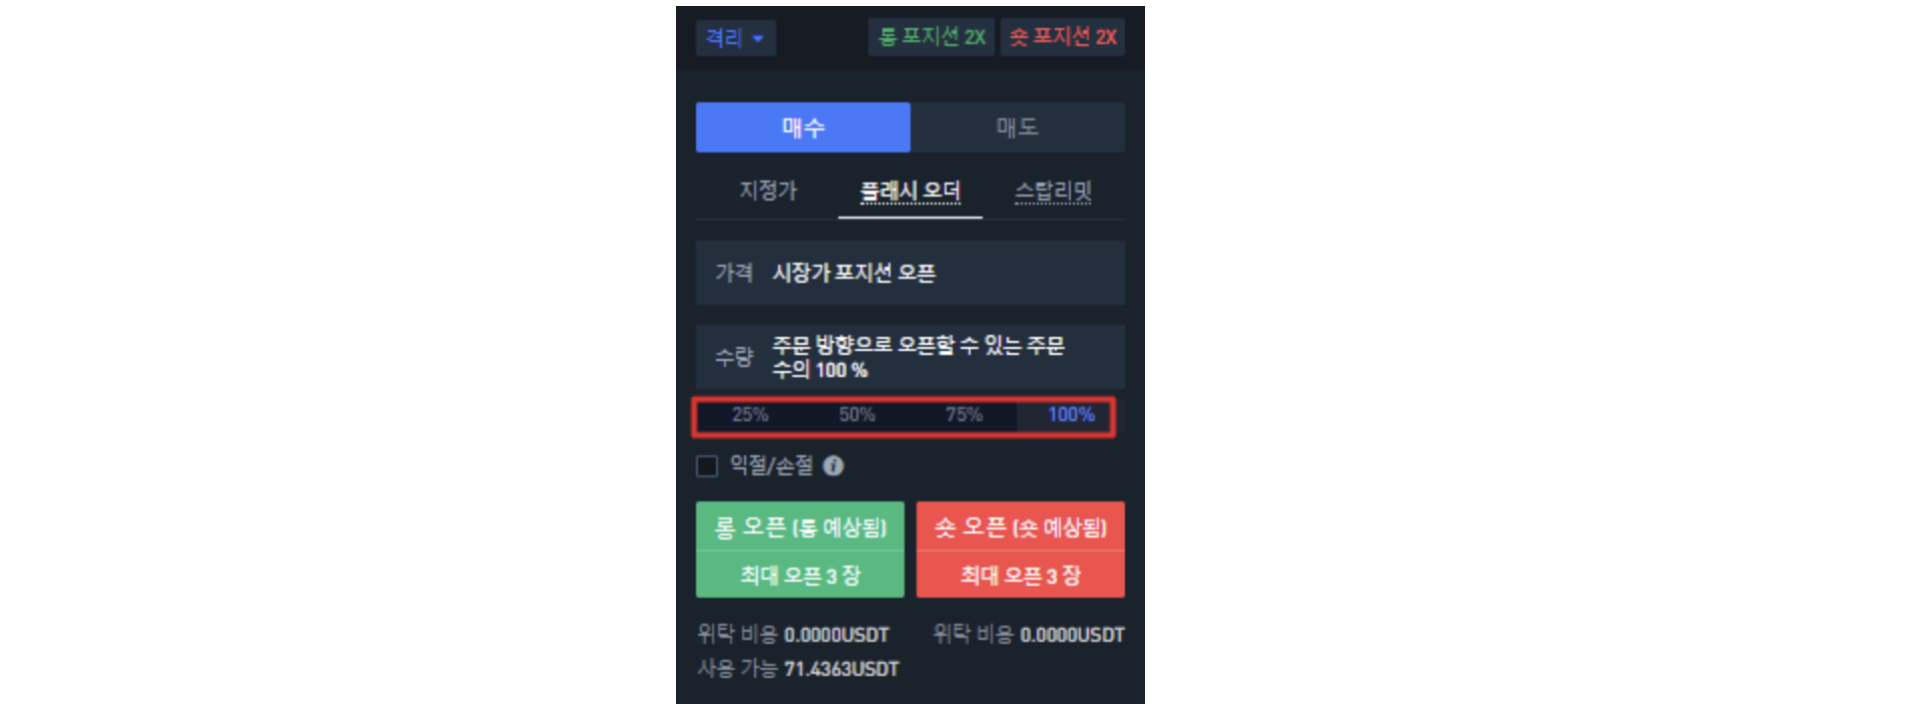
➣ A long open position refers to buy long, a short position open refers to sell short! Now, you can enter the position after selecting the investment direction you like. In this example, we will do a short selling.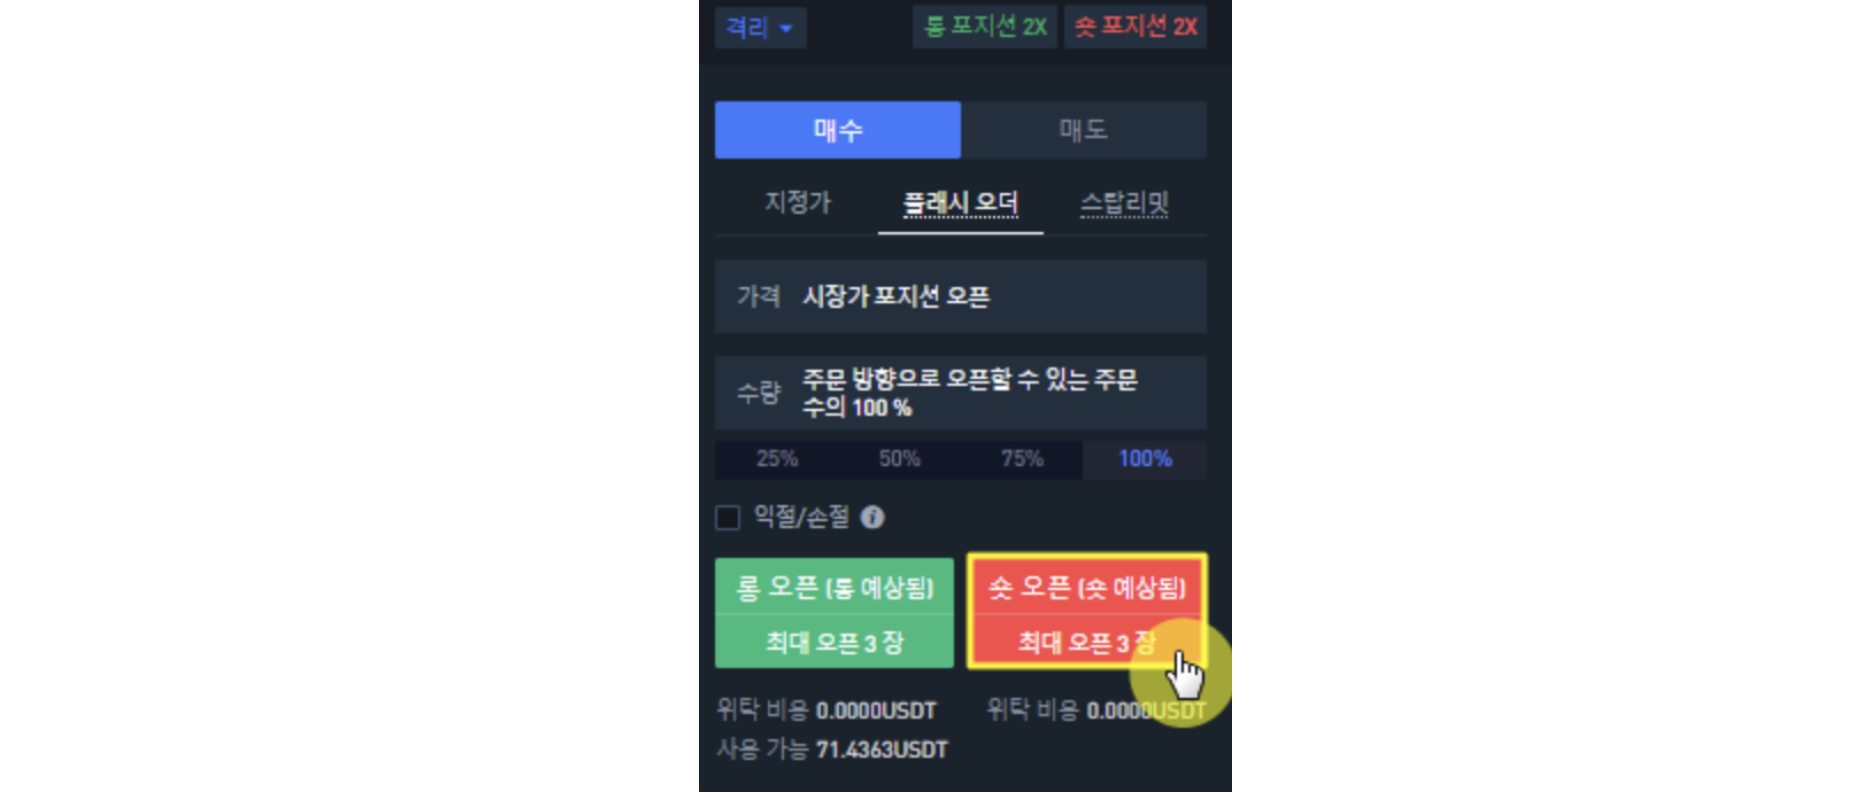
How to check position status & control position?
➣When you enter a position, the position status shows various information such as the entry amount, entry price, margin, margin rate, liquidation estimate, yield, etc. It can be helpful when making trading decisions by referring to each information!
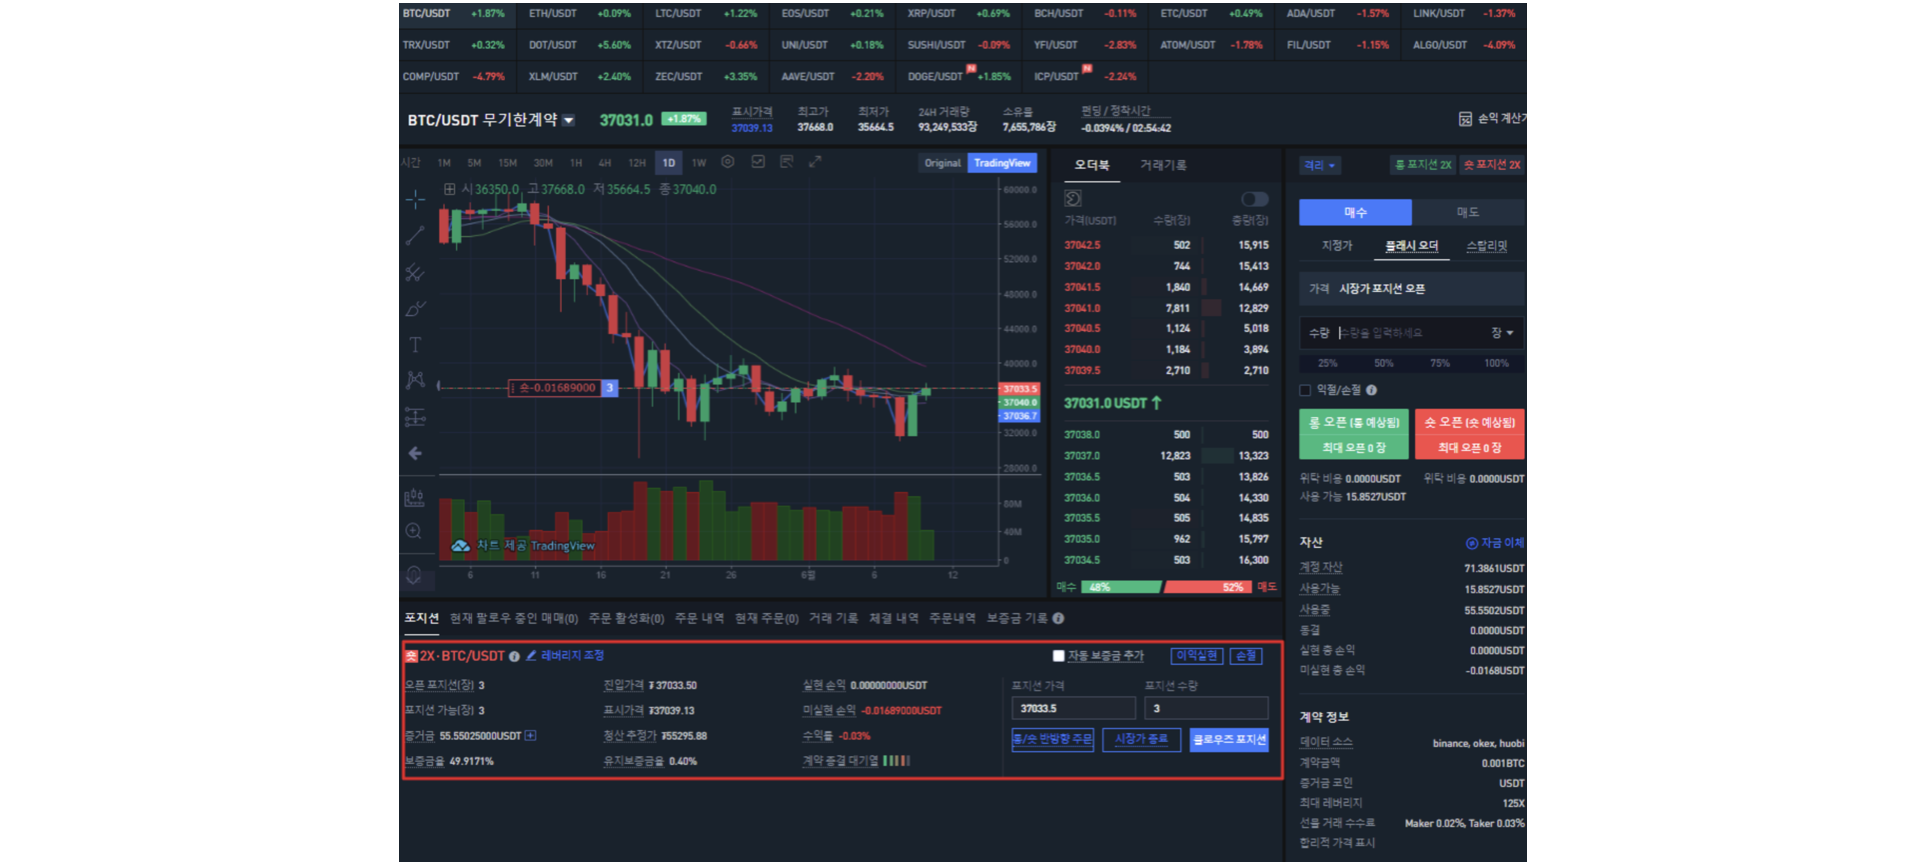
➣ The leverage multiple and contract are listed in the upper left corner of the position status. You can freely increase or decrease your leverage by clicking “Adjust Leverage” button on the right.

➣ When you click “Adjust Leverage” button, adjustment window will appear. You are currently in a short position with 2x leverage.

➣ In this example, we will change leverage multiple from 2x to 3x, and click “confirm.”

➣ You can see that the leverage multiple has increased as below.
➣ Next, there is a “+” icon on the right side of the margin item. You can add or decrease the margin by clicking the corresponding button.

➣ Here you can add or decrease the margin.

➣ If you add more margin, you can reduce the probability to be liquidated. Conversely, if you decrease the margin, the probability of liquidation may increase.
➣ However, if you are liquidated after adding margin, all margin you deposited will lose.

★There are some buttons that you can take additional actions in a position as below, and you can use it in real trading later.

1.Auto-Margin Replenishment
➣ If you use this function, it will automatically add margin to existing open positions for avoiding liquidation. It can reduce the probability to be liquidated, but the margin you add may also lose.
2. Take Profit & Stop Loss
➣ It is a function that you can specifie a exact price at which to close out an open position to earn profit. If you use this function well, you can manage your money thoroughly!
How to check detailed transaction history!
➣ You can check transaction history in “position status”.

➣ For more details, click “All Records” in the upper right corner and check the details on below page!

